AI application illustration
Custom Aroma Lamp Housings
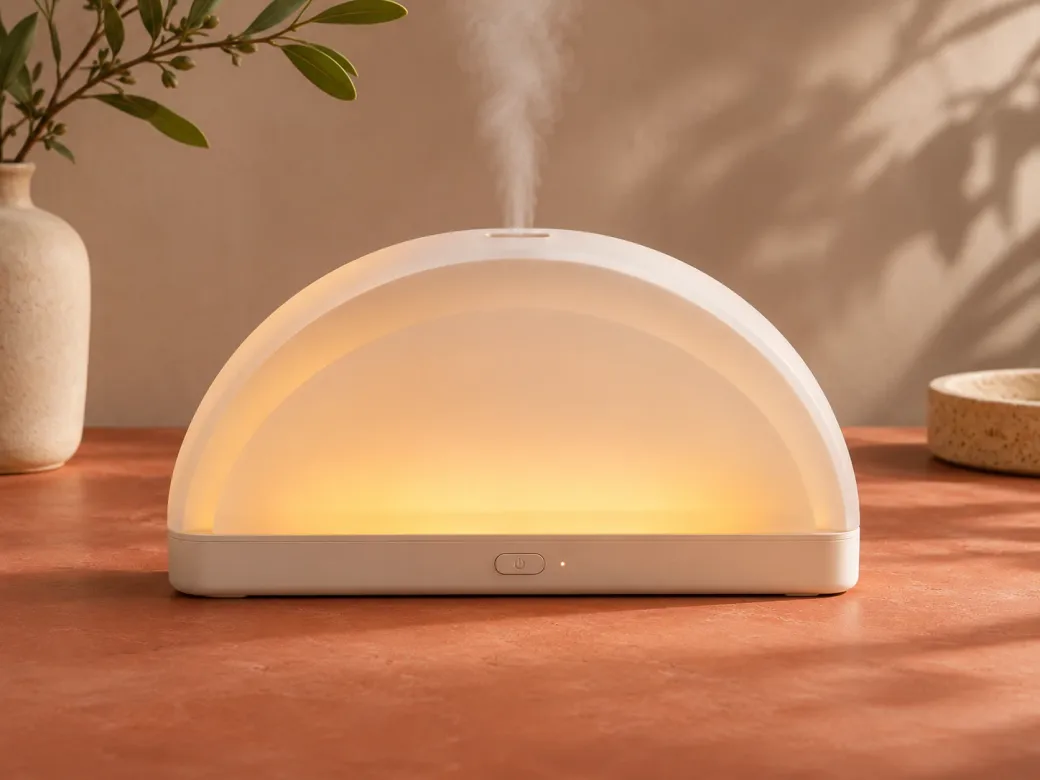
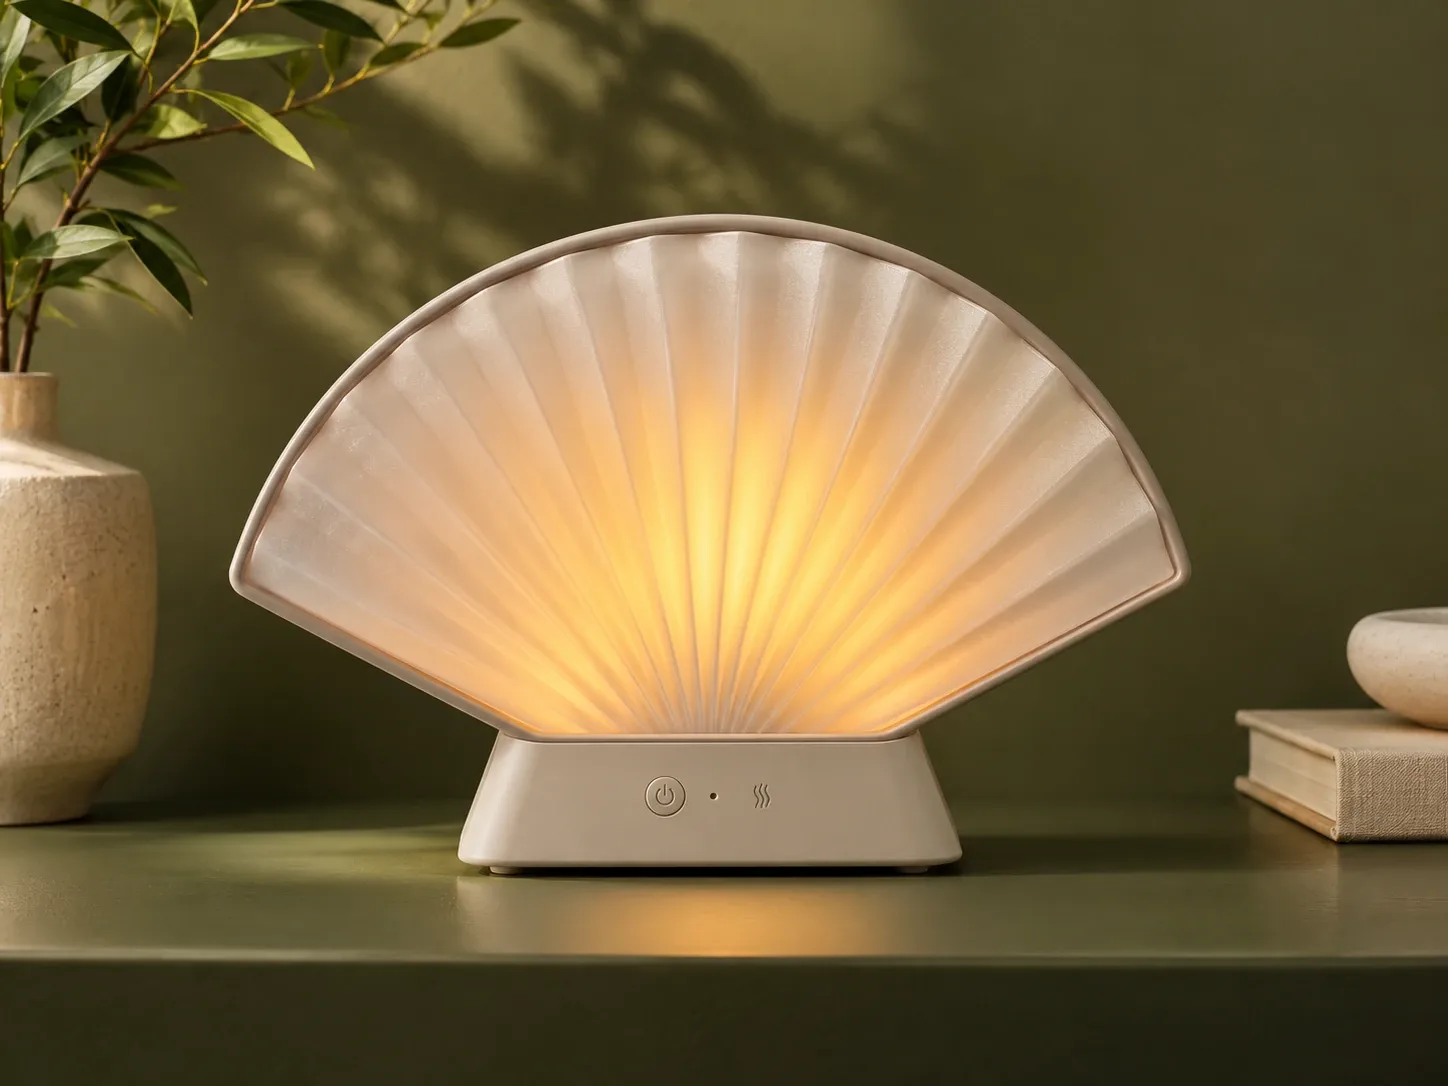
Specify the molded shade, collar and light window for an LED aroma lamp, with visible finish and assembly requirements for tooling review.
See details →An enclosure for every ritual.
Explore custom housings, reservoirs, lids, mist outlets and control trim for aroma lamps and ultrasonic aroma diffusers. Discuss samples and injection mold tooling.
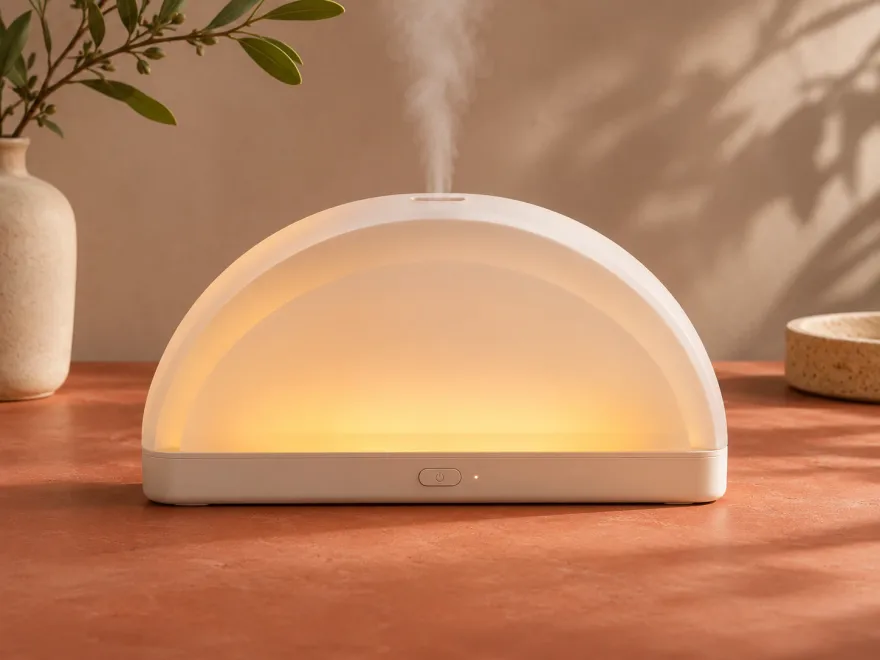
Develop the outer shell and lid around your mist outlet, controls and assembly requirements.
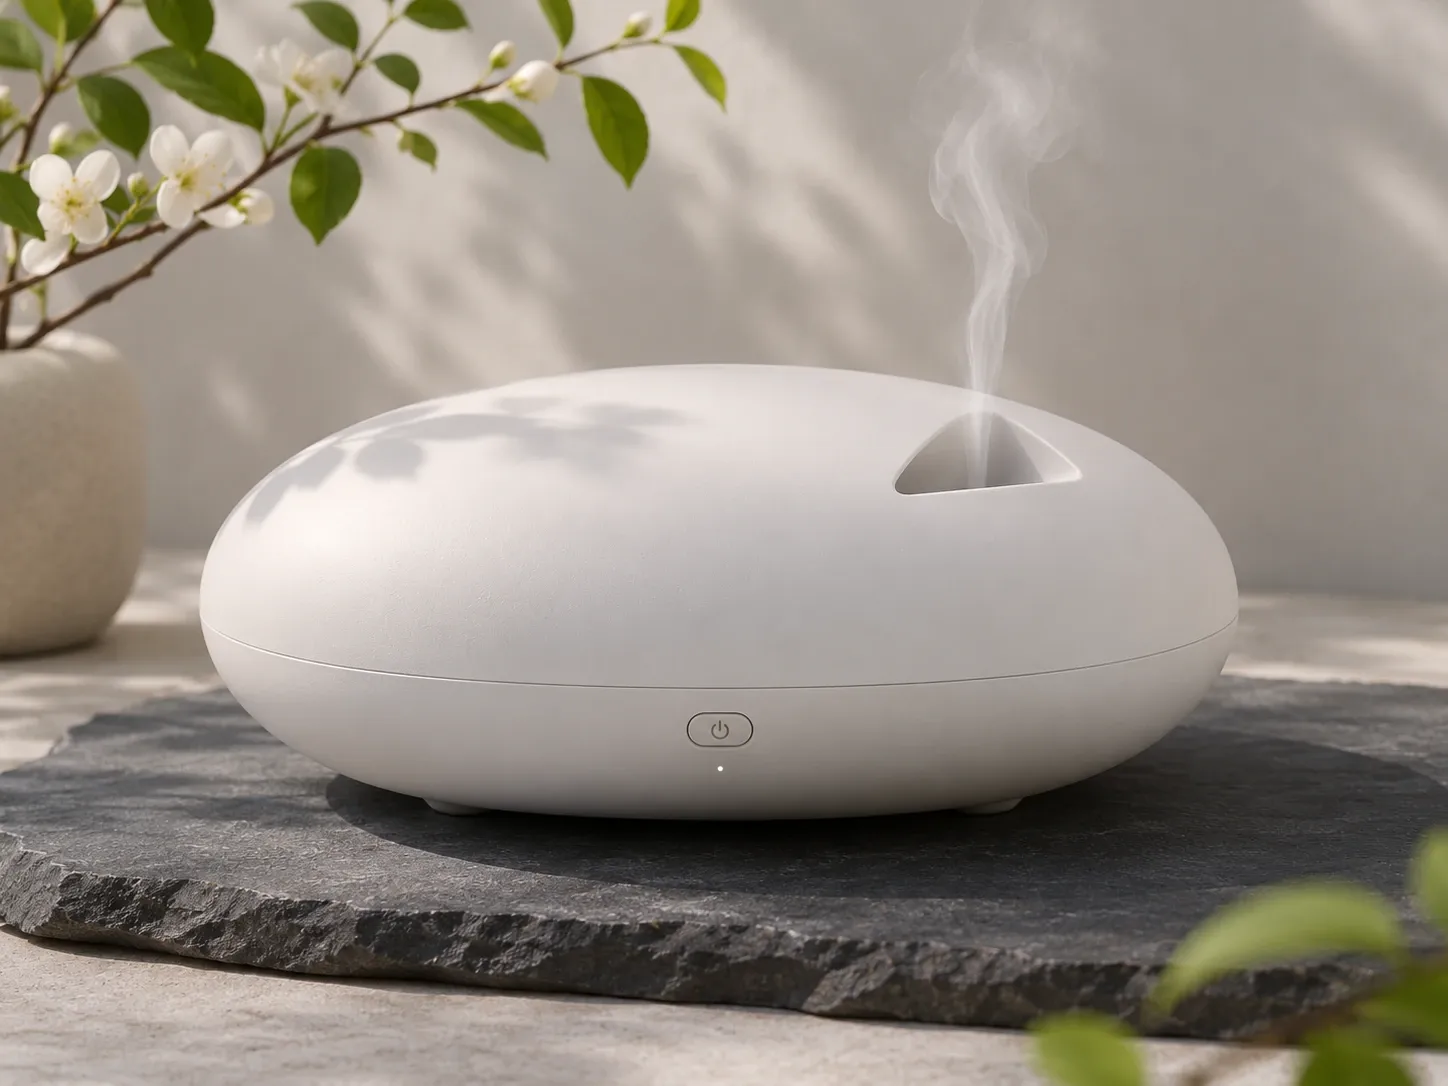
Review the fill opening, lid seating, liquid-contact surfaces and level window before tooling.
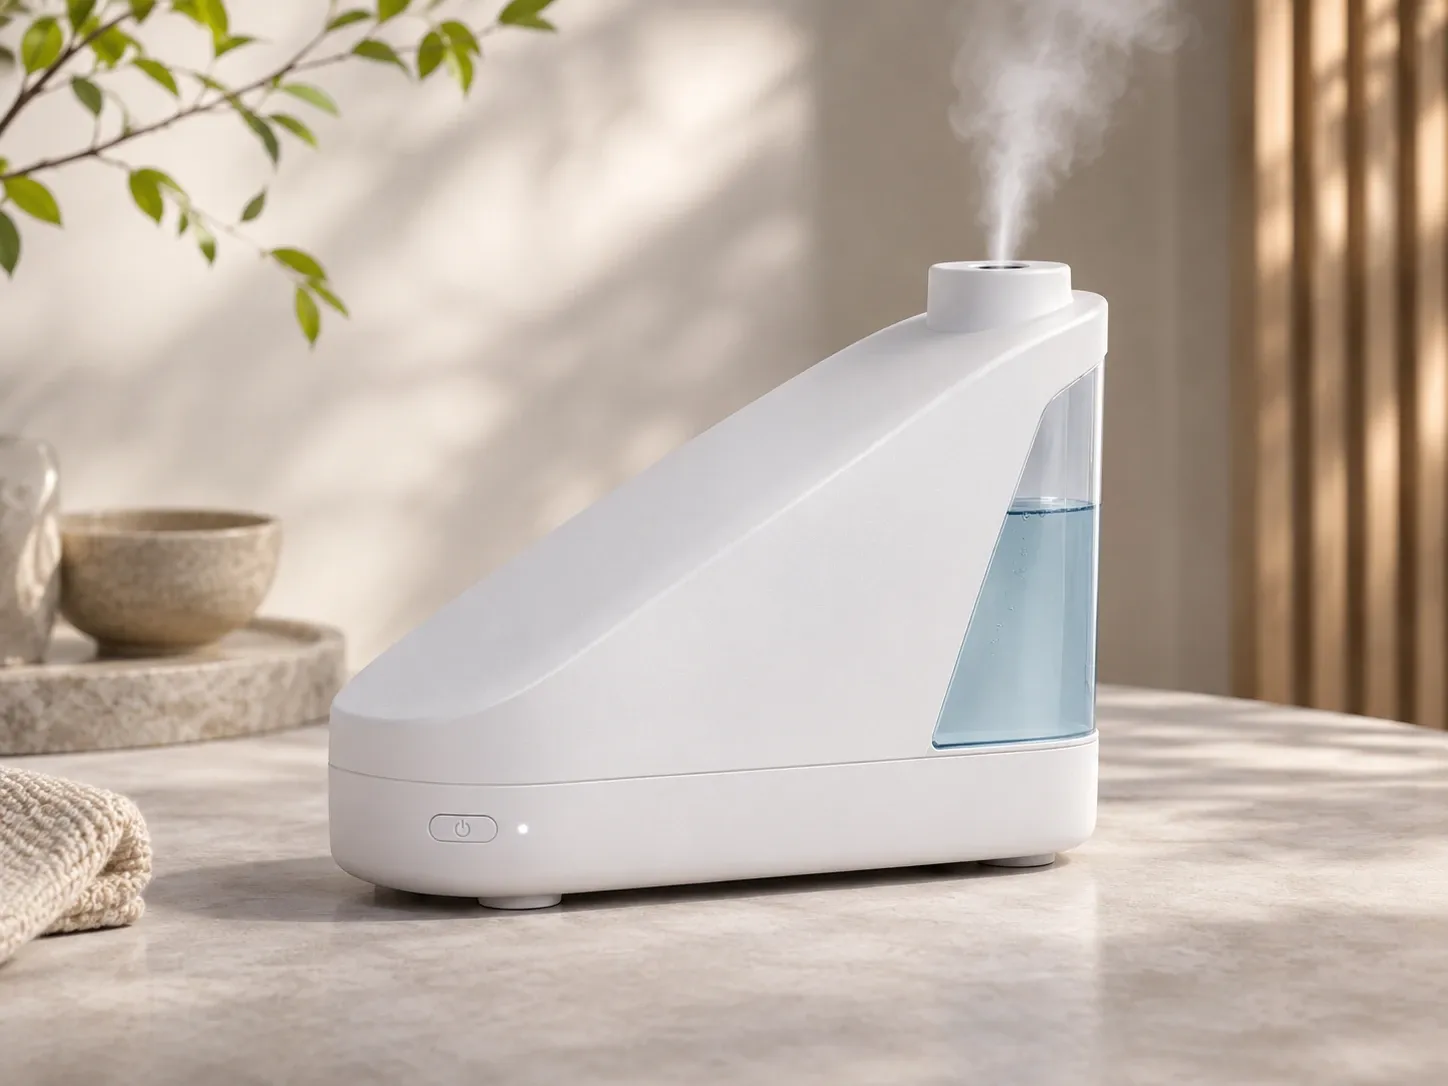
Explore outer housings, wet-area parts and controls for your next design.
Develop the outer silhouette, visible seams and cover fit around the lamp or diffuser assembly.
AI application illustration
Specify the molded shade, collar and light window for an LED aroma lamp, with visible finish and assembly requirements for tooling review.
See details →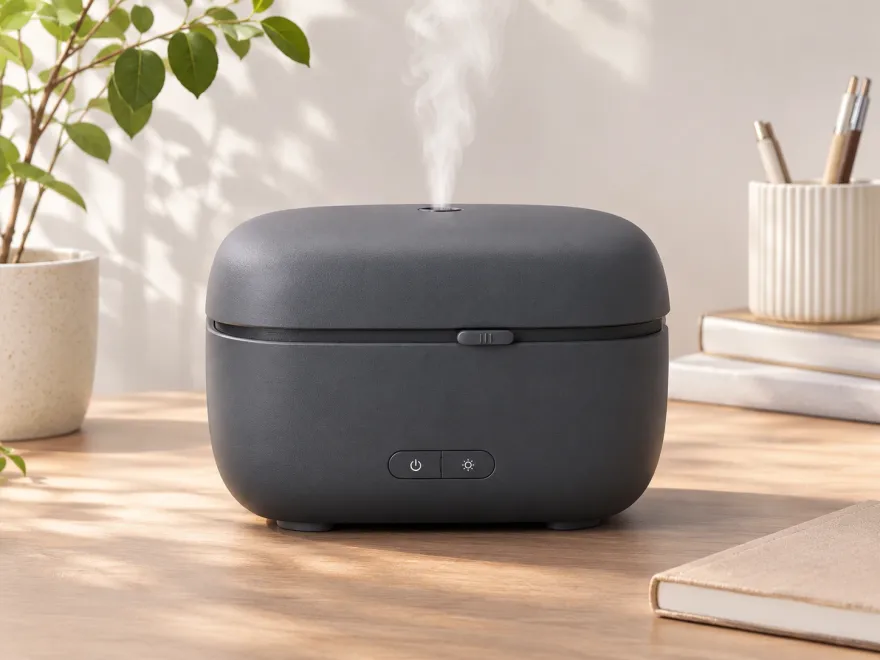
AI application illustration
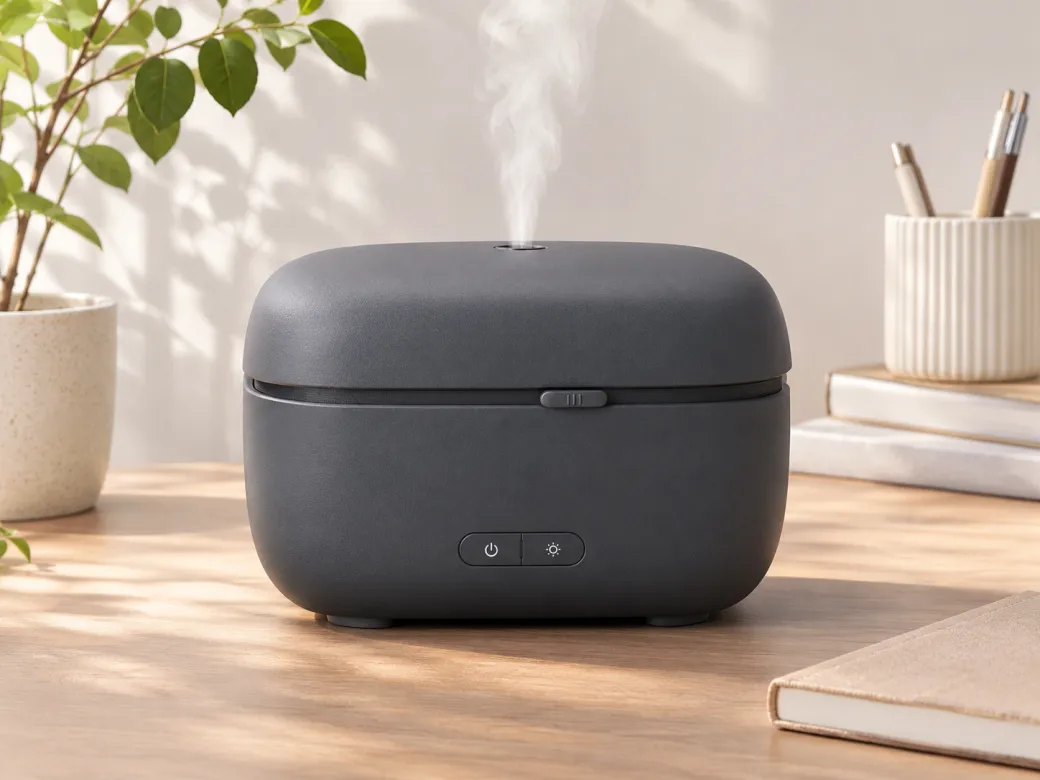
Review the injection-molded enclosure around the reservoir, mist path and mounting interfaces. Plan a housing that fits your internal layout.
See details →Define the wet surfaces, lid seating and how the outlet cap and inner insert line up.
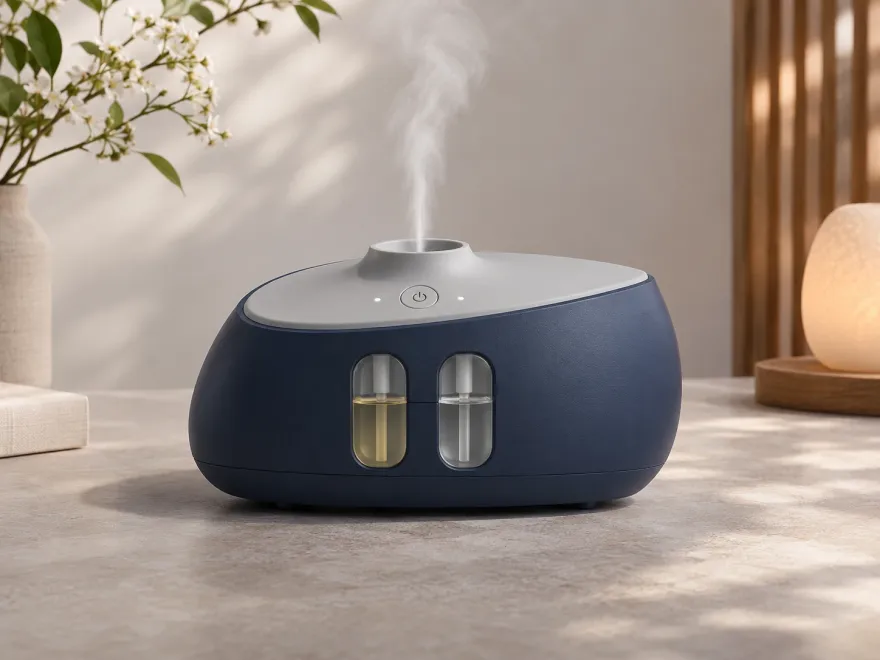
AI application illustration
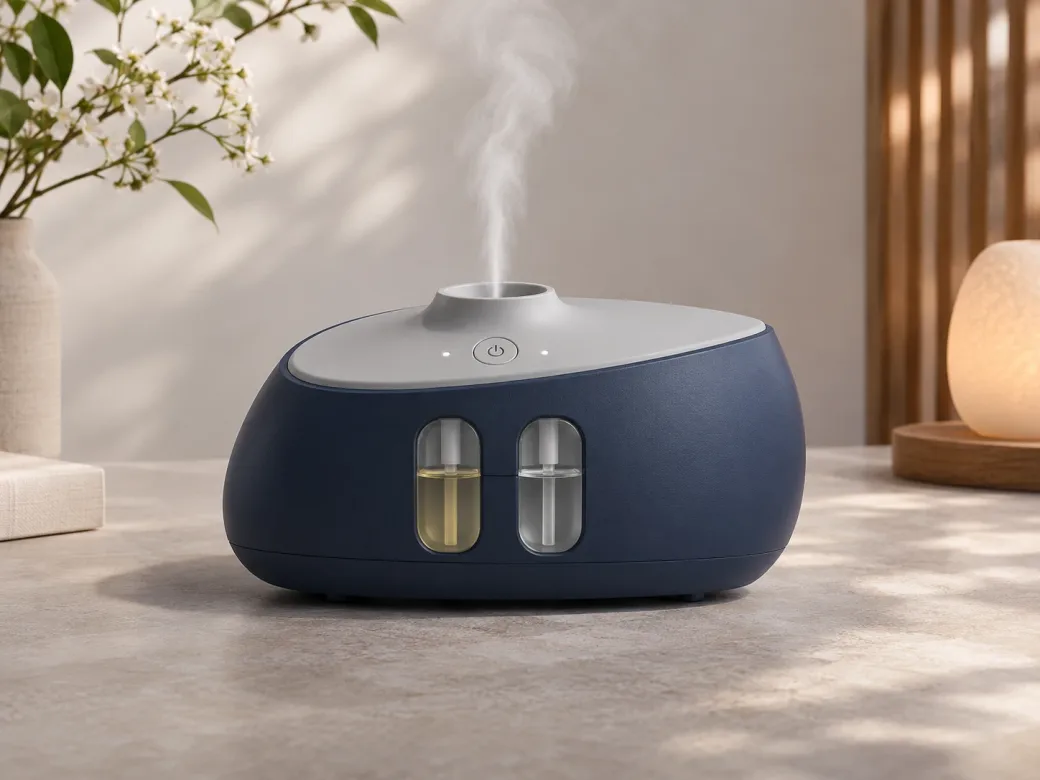
Specify the molded liquid reservoir, nesting lid and rim interface with the working fluid, fill line and closure geometry in view.
See details →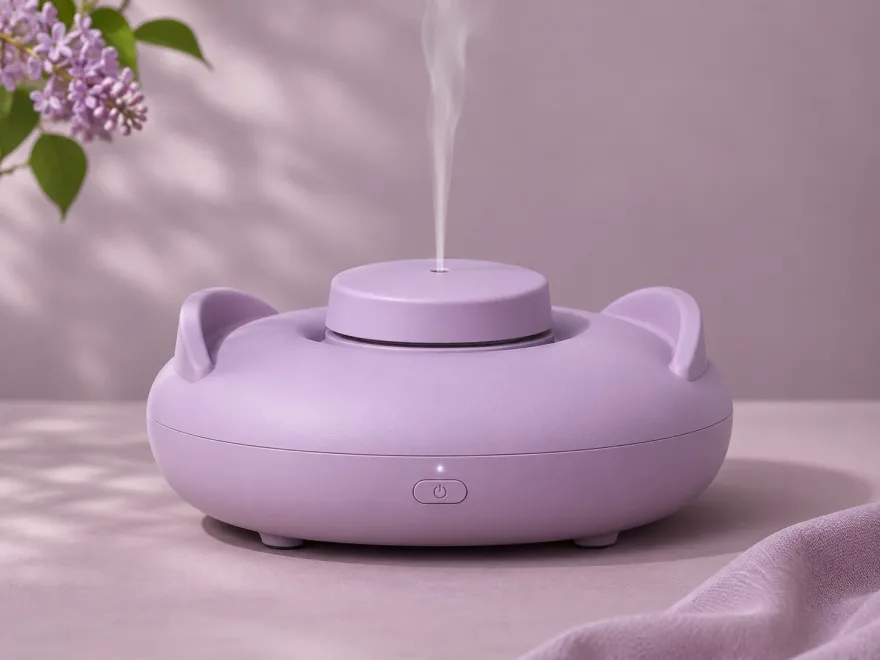
AI application illustration
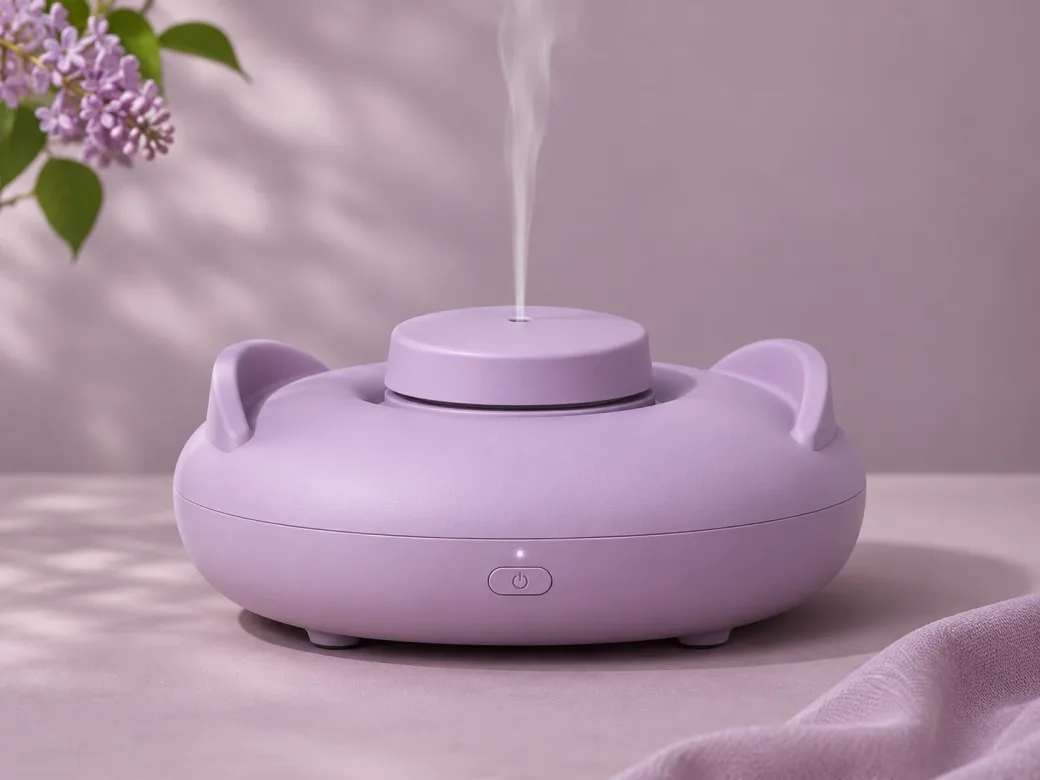
Review a molded outlet cap and separate mist insert around the aperture, condensate route and locating features.
See details →Set the support points, cable routing and space around switches or indicator windows.

AI application illustration
Plan a molded underside plate around its support points, attachment features, vent openings and cable exit.
See details →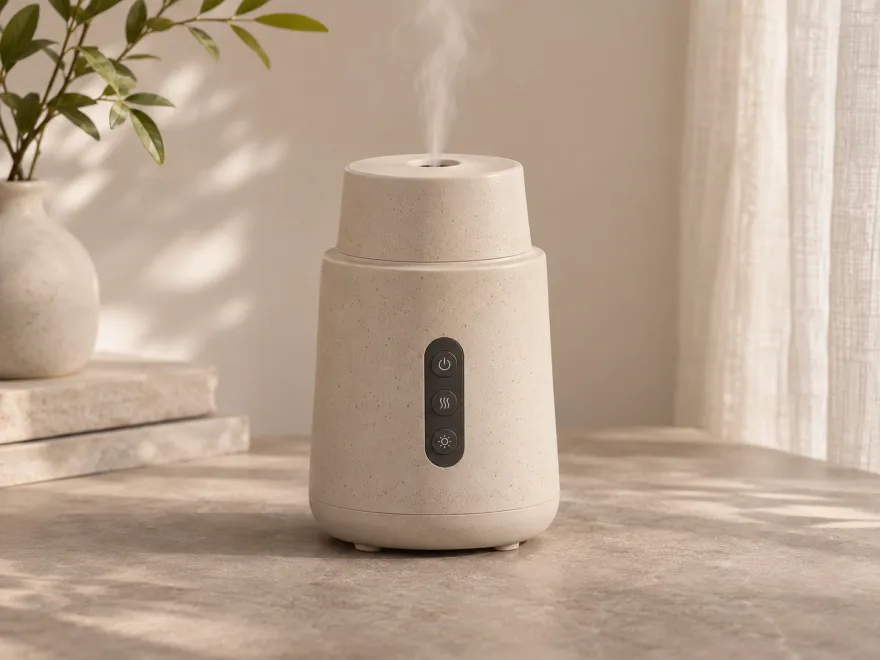
AI application illustration
Specify molded control trim around the button apertures, indicator window and visible joint with the diffuser shell.
See details →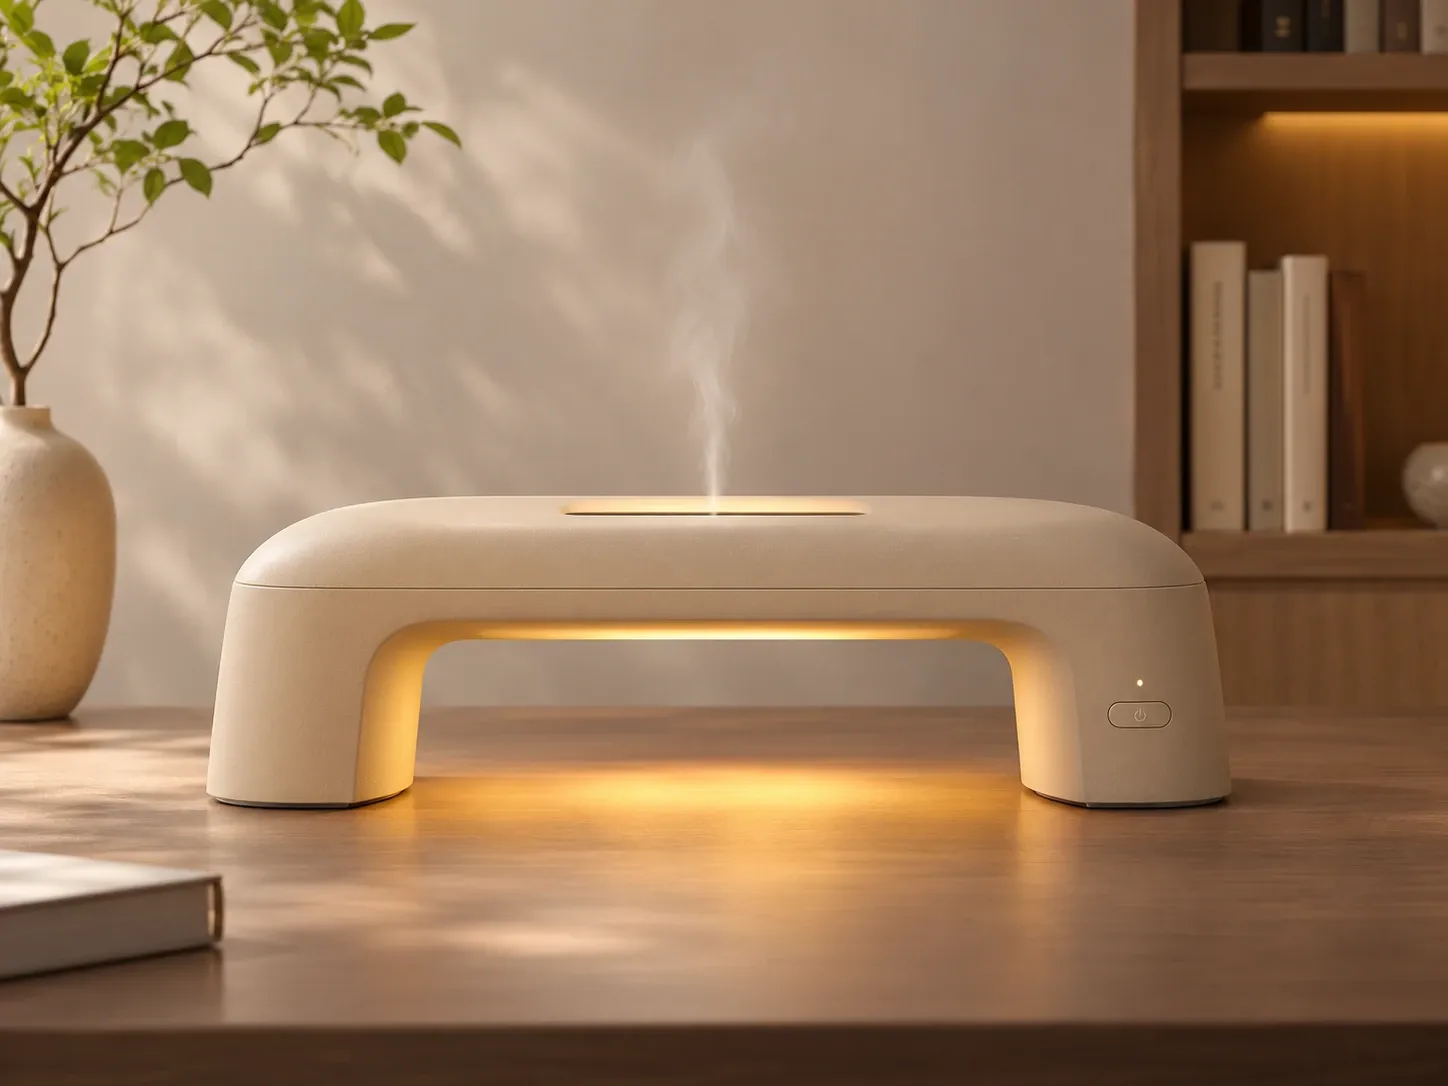
Plan the molded parts around the assembly you want to build.
Browse products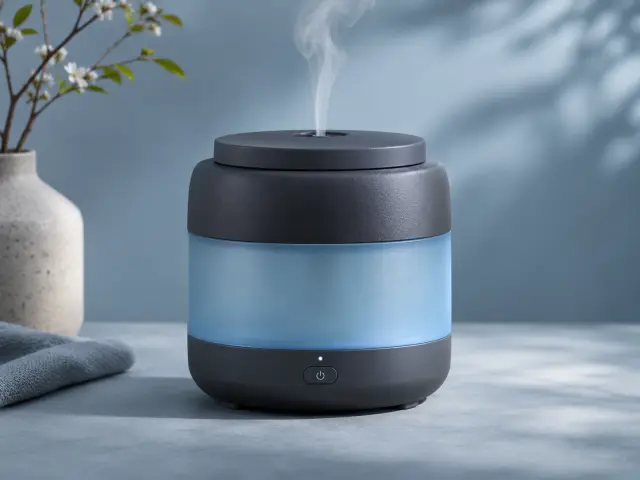
Send the component drawing, an assembly view and the finish you need. For reservoirs and lids, tell us which liquids and cleaners will come into contact with the parts.
We can then review mold scope, pilot quantities and what to check on the first samples.
Develop the outer silhouette, visible seams and cover fit around the lamp or diffuser assembly.
Explore design review →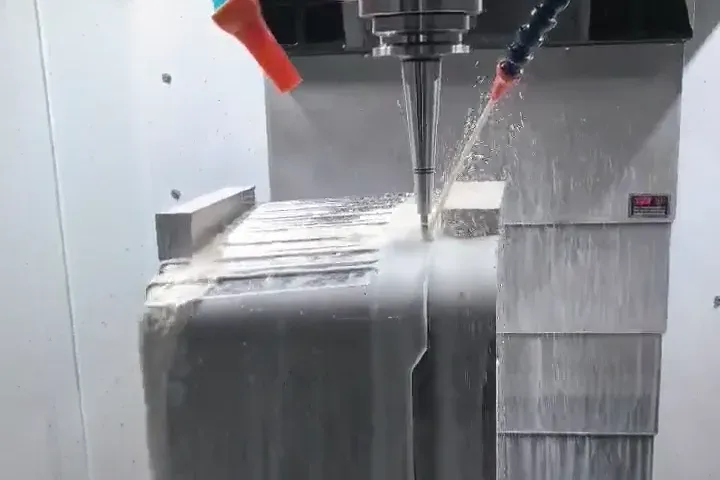
Define the wet surfaces, lid seating and how the outlet cap and inner insert line up.
Explore plastic mold manufacturing →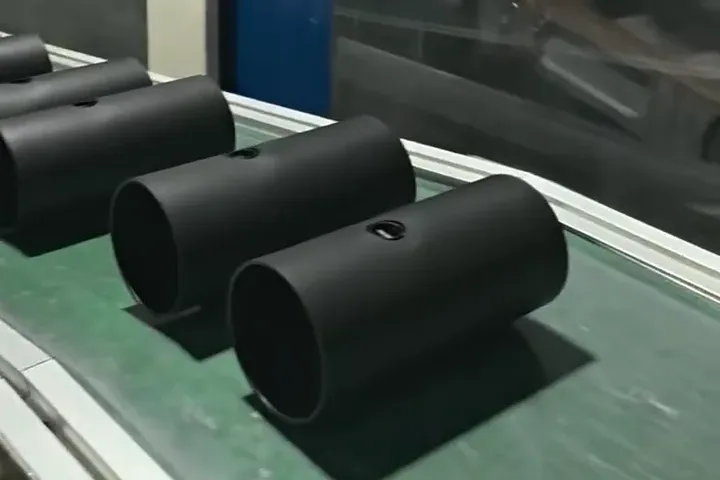
Set the support points, cable routing and space around switches or indicator windows.
Explore plastic injection molding →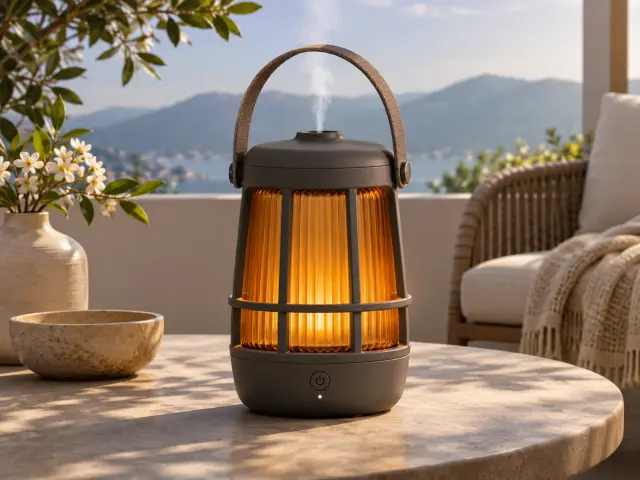
Define the visible seam and how the translucent surface meets the base.
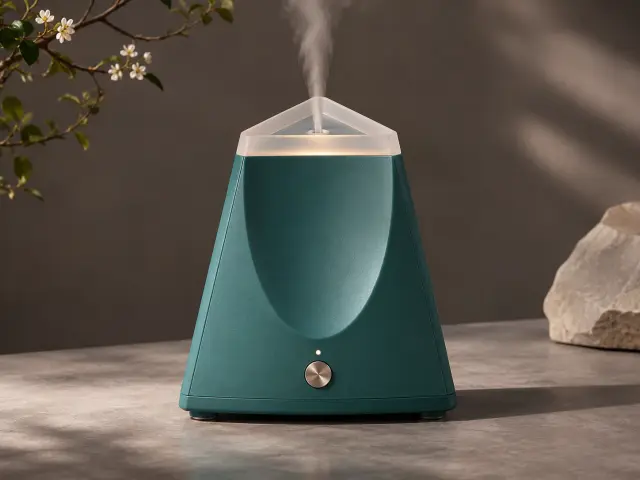
Plan the housing around the outlet, controls and internal assembly.
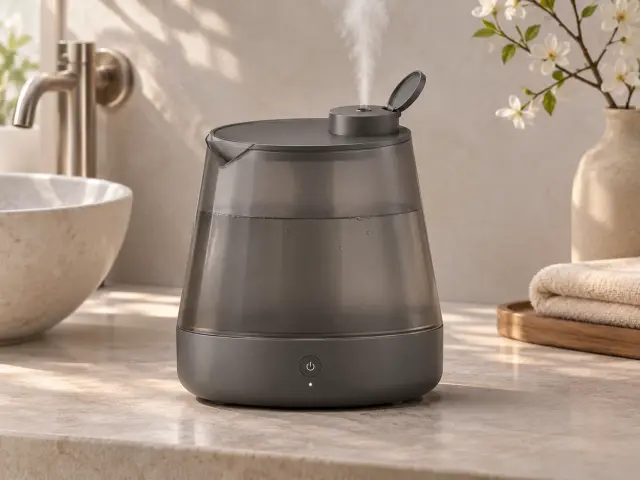
Review the filling opening, lid seating and exposed surfaces together.
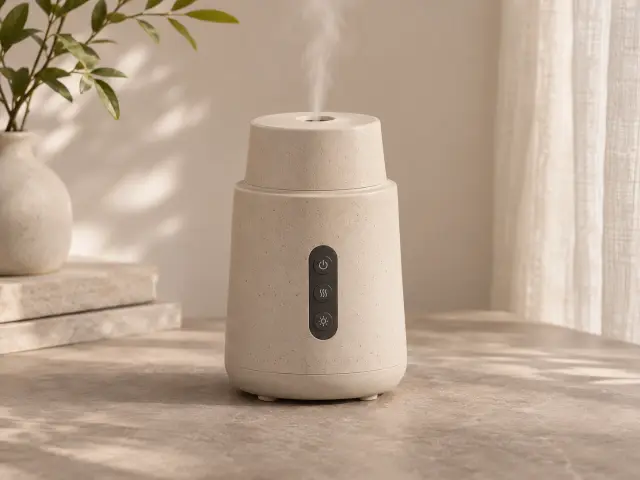
Specify openings, indicator windows and where the controls locate.
AI product design illustration
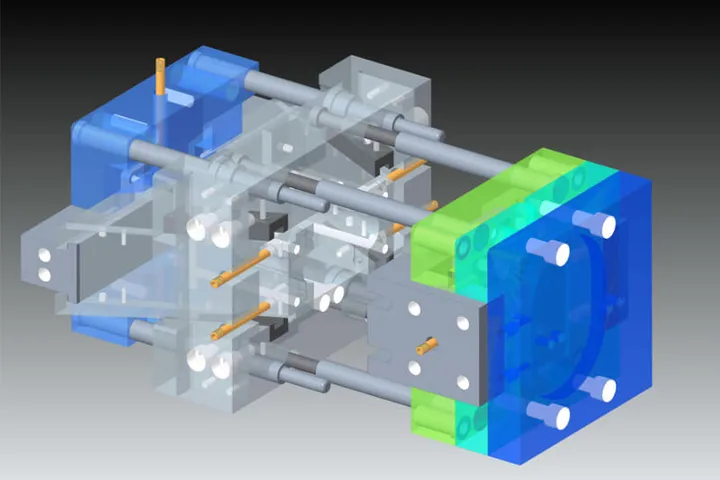
OPINOX operates in Dalang, Dongguan. Our work brings mold design, CNC machining, EDM and injection molding together for custom plastic part projects.
Dongguan Gongyu Plastic Mould Products Co., Ltd. is based in Dalang, Dongguan, China. Its manufacturing scope includes mold design, CNC, EDM, injection molding and assembly.
View all workshop videos →Actual OPINOX workshop footage.
A close view of a CNC cutter machining a metal mold block, with coolant directed onto the cutting area.
A close view of the injection molding area, with black cylindrical plastic parts visible beside the machine.
A technician working on a mold block at a machining workstation.
Watch the spindle and cutting tool work on a metal mold block.
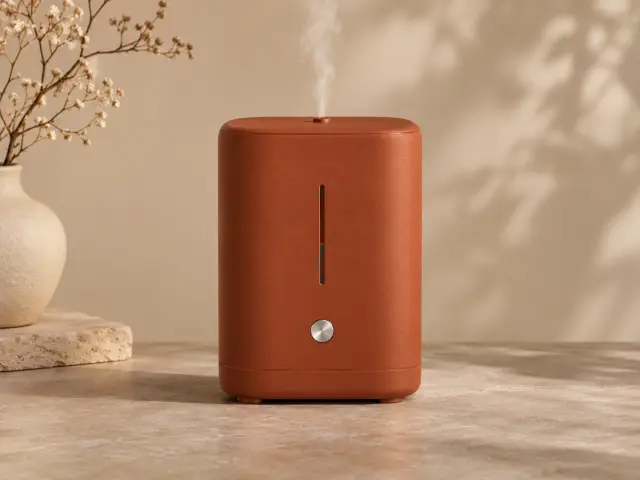
Prepare a useful tooling RFQ for aroma diffuser plastic parts by documenting assembly, cosmetic surfaces, liquid exposure and first-sample acceptance.
Read the guideUse actual fragrance and cleaning exposures to compare resin candidates and validate molded diffuser tanks, lids and mating seals before approval.
Read the guide →Check outlet alignment, cover seating, condensate and cleaning access on an assembled ultrasonic diffuser before you approve molded covers.
Read the guide →Turn a matte or glossy diffuser housing brief into a sample approval plan covering viewing conditions, molded texture, seams and insert matching.
Read the guide →Tell us which part you are developing, how it fits the assembly and what you need from the first samples.