
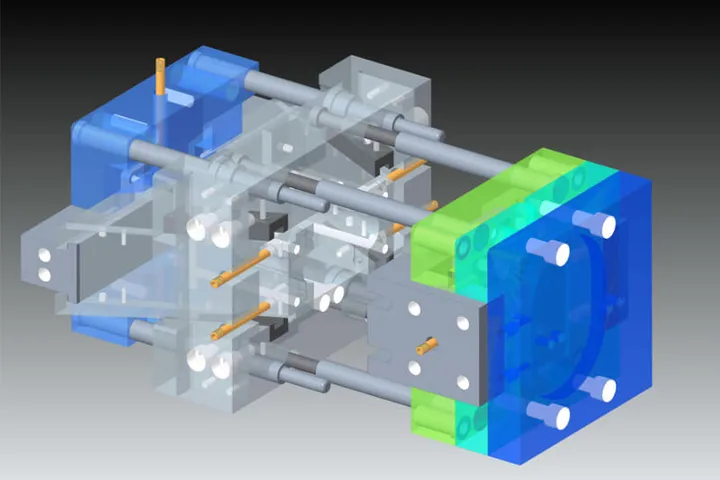
Design review
Develop the outer silhouette, visible seams and cover fit around the lamp or diffuser assembly.
Explore design review →Review the interfaces, material options and appearance targets for your part before moving into tool design and molded samples.
Develop the outer silhouette, visible seams and cover fit around the lamp or diffuser assembly.
Explore design review →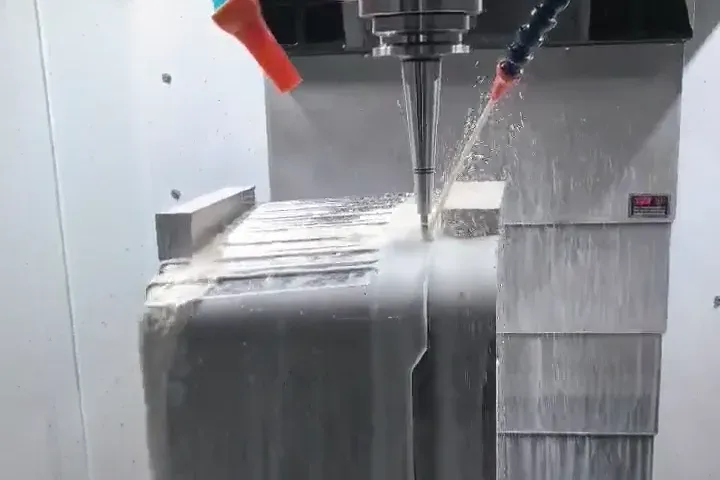
Define the wet surfaces, lid seating and how the outlet cap and inner insert line up.
Explore plastic mold manufacturing →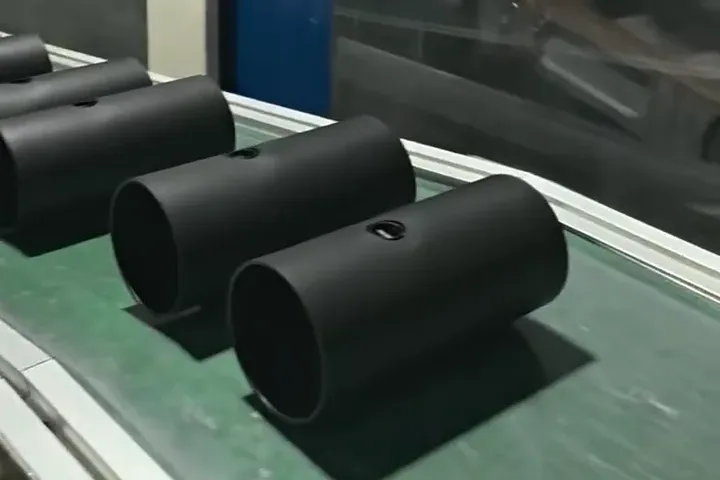
Set the support points, cable routing and space around switches or indicator windows.
Explore plastic injection molding →Start the tooling review with the outer shell and the parts it mates with. For diffuser assemblies, separate the cosmetic surfaces from the tank, mist path and electrical interfaces so each can be reviewed against the drawings.

Review a two-piece aroma lamp shade with a frosted liner and decorative shell. Share the LED layout, visible surfaces and liner fit for a molding quote.
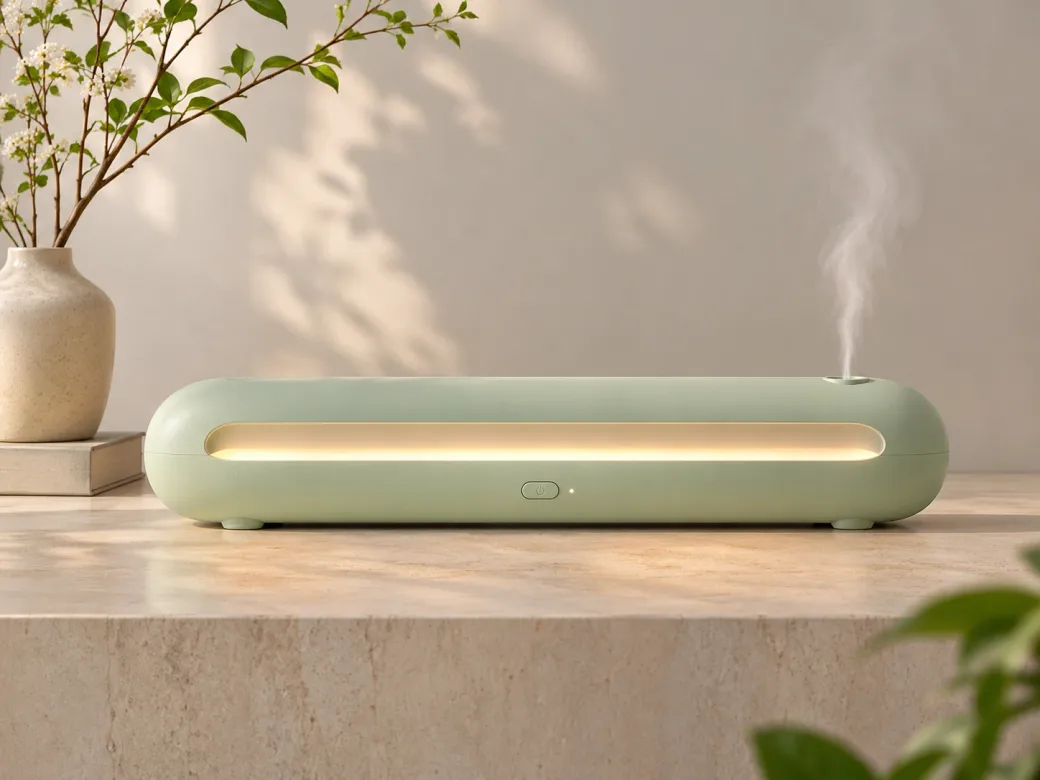
Plan a low-profile translucent lamp cover around the LED line, visible seam and long mounting edge. Review the cover with the mating housing.
Include the revision, use conditions and estimated quantity.
Agree on materials, interfaces and tooling responsibilities.
Review appearance, assembly and agreed inspection points.
Agree on the accepted revision, checks and production plan.
Actual OPINOX workshop footage.
A close view of a CNC cutter machining a metal mold block, with coolant directed onto the cutting area.
A close view of the injection molding area, with black cylindrical plastic parts visible beside the machine.
A technician working on a mold block at a machining workstation.
Watch the spindle and cutting tool work on a metal mold block.
Tell us which part you are developing, how it fits the assembly and what you need from the first samples.